Alias:
Harold
About:
- Nothing entered yet -
Occupation:
Retired
Favorite Quote:
When you die, the one with the most toys wins.
Member Since:
03.28.2010
Bike 1:
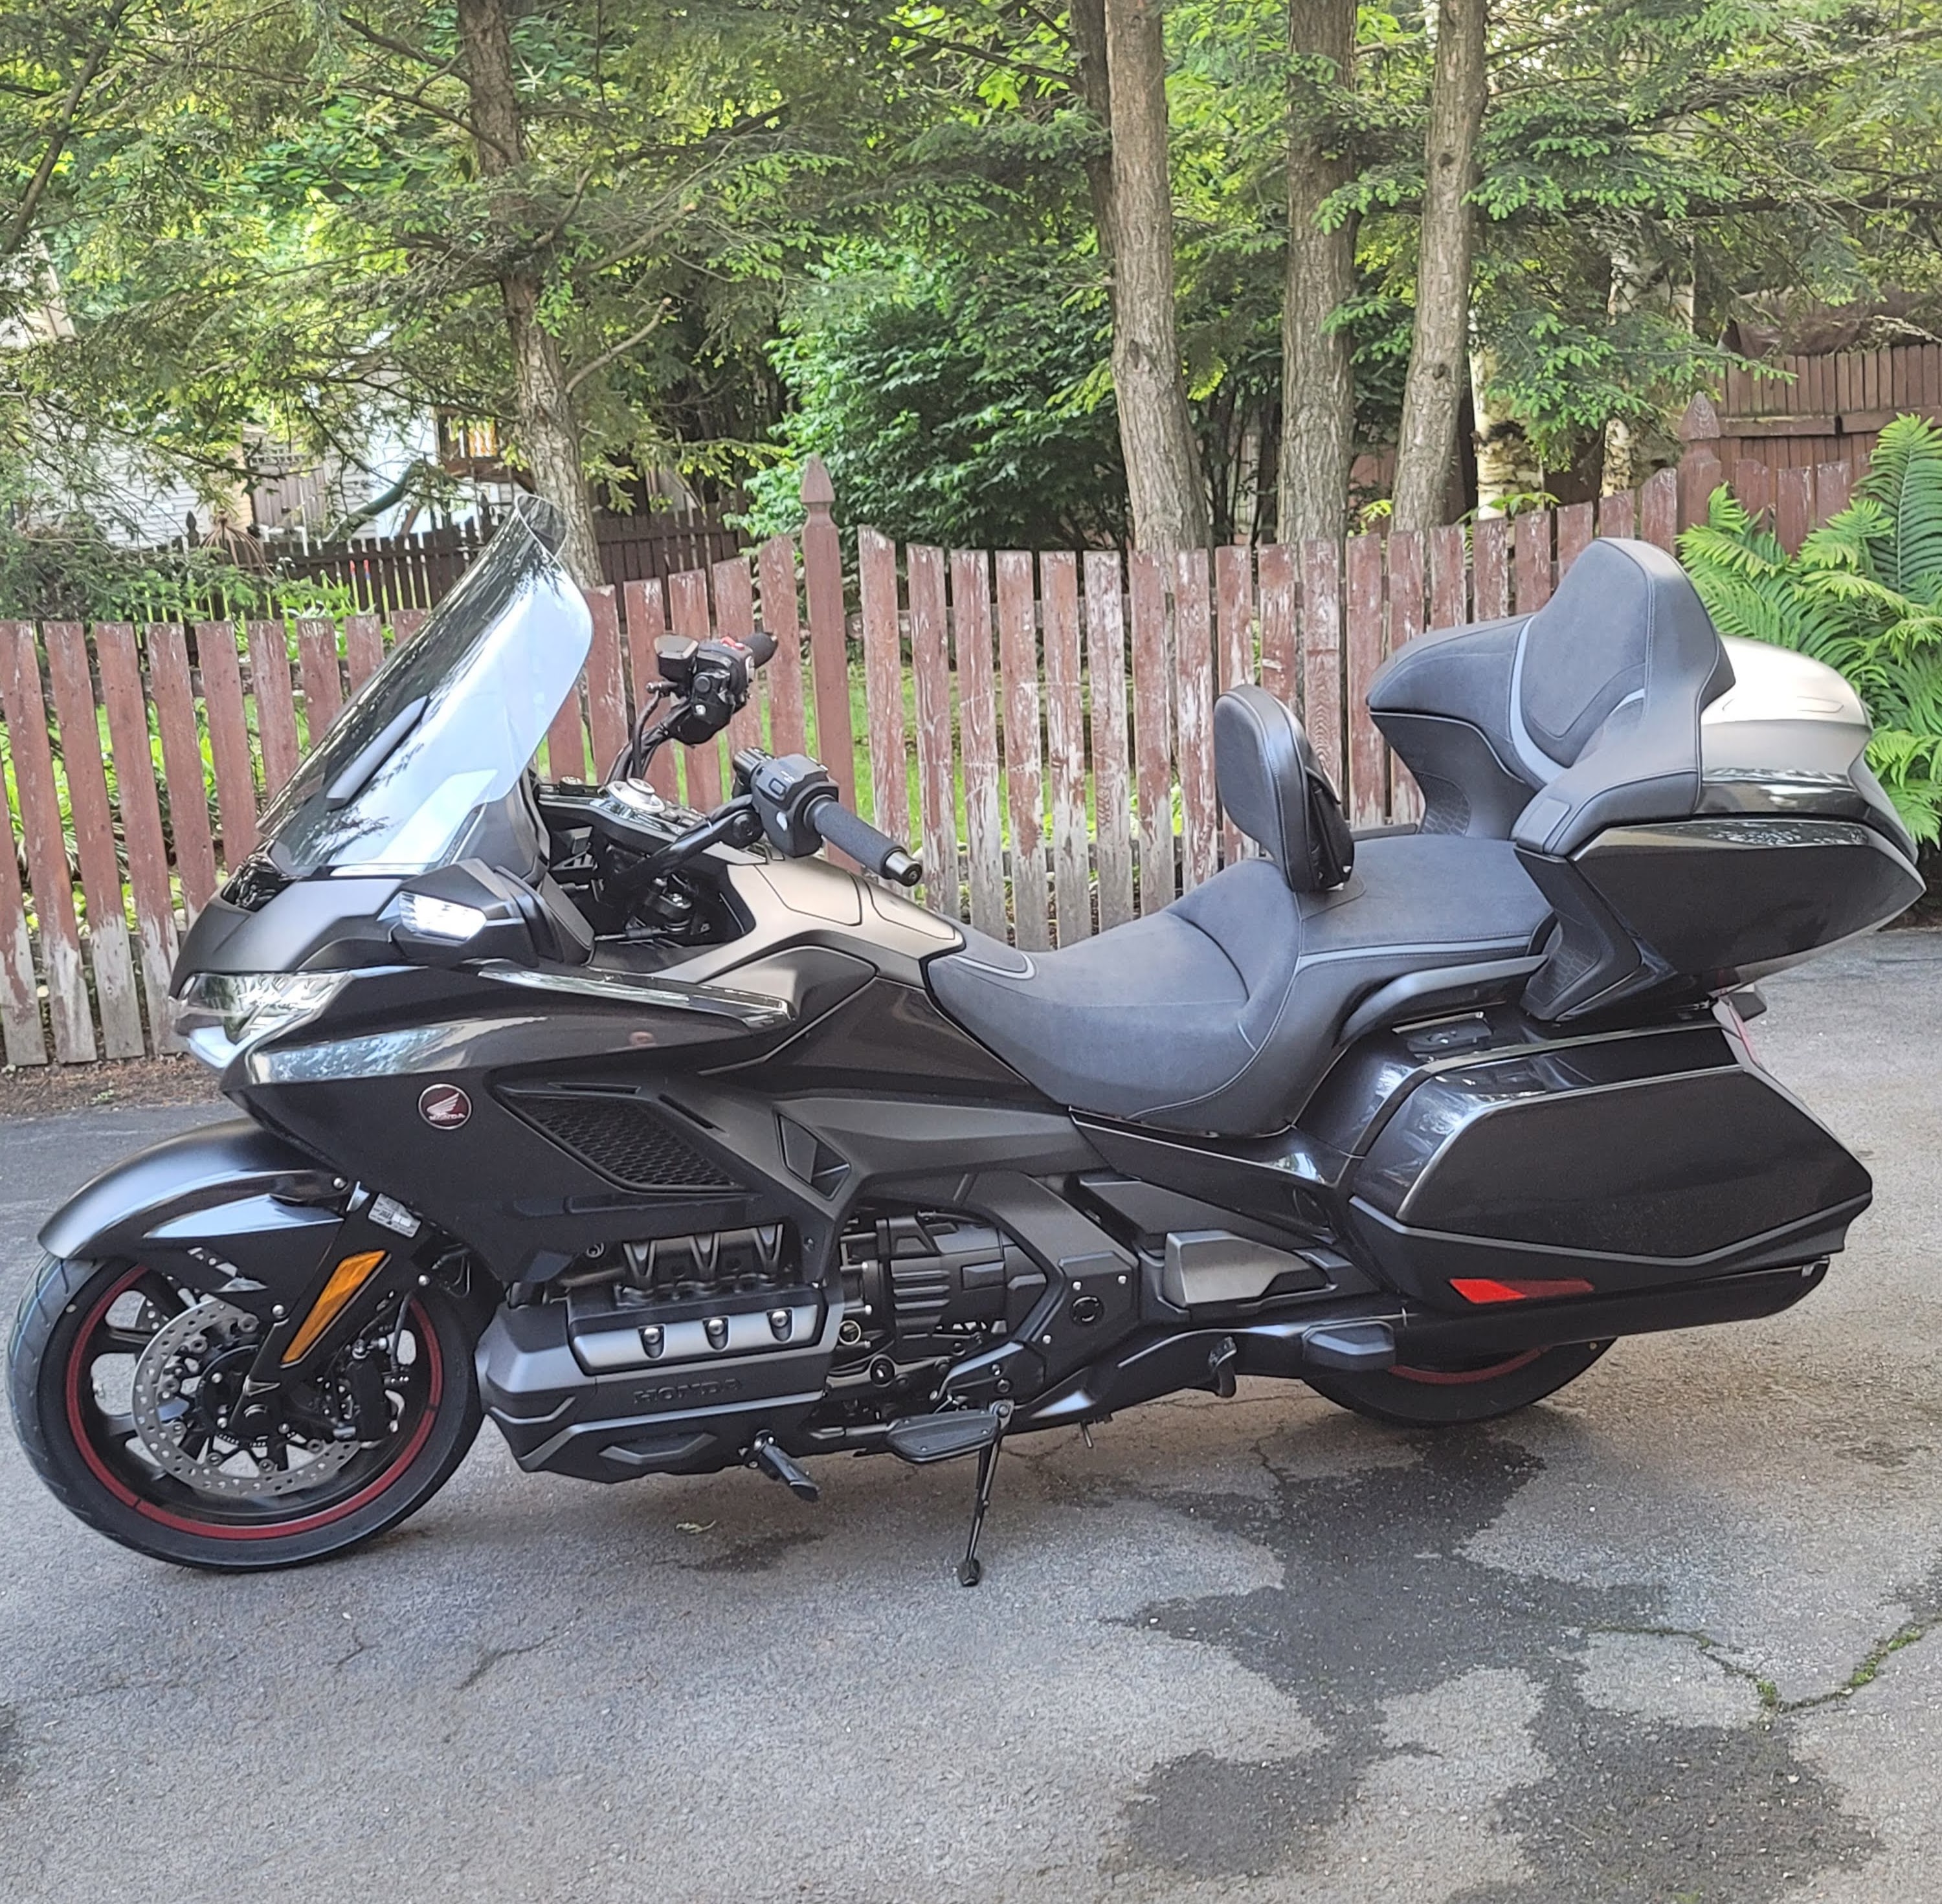
Metallic Black 2021 Honda GL1800
Bike 2:
- No Bike 2 -
Bike 3:
- No Bike 3 -
Side Kickstand Pad for 2018+ Gold Wing
ITEM CODE: RIGW013, SKU: RIGW013
06.20.2021
Easy Install
| Well made. Takes just a few seconds to install with a 3mm hex wrench. |
ITEM: CI58119
09.14.2020
Easy Install.
| Only takes a couple of minutes to install. Well made. Ball is on an arm that pivots 360 degrees. Works well with my action camera. Barely noticeable when not in use. |
Camera Mount
ITEM CODE: CI58137, SKU: CI58137
09.01.2020
Very easy install.
| This is a one screw install. You remove the 5mm screw under the signal light on either side of the bike, depending where you wish to mount your camera. The mount comes with a new longer screw that you use instead of the OEM screw. This is a 5 minute install. Makes a decent spot to put your camera. |
ITEM: AO45-1245
09.01.2020
Nice addition to the bike
| These are fairly easy to install. There is no video for this product but if you go about 16 minutes into the Wingstuff Muth Mirror install w/Fred Harmon he shows you how to remove the OEM mirror. It is worth watching. I will say however he makes the actual removal of the mirror itself look much harder than it actually is. These are much better looking than the OEM lights. The running lights match the look of the headlights and the sequential signals are very cool. I recommend these highly. |
LED Engine Lighting Panels Chrome
ITEM CODE: CI40055, SKU: CI40055
07.14.2020
Looks Great
| These are a very easy install. You remove the two original screws and replace them with the spacers and new screws that come with the kit. Then just run the wires up under the seat. You should plug these into the Goldstrike wiring harness so that they become signal lights also. They do come with an adapter to wire them to your fuse box if you wish. Easiest lights I ever installed. Look very nice. |
Plug-N-Play Lighting Installation Kit
ITEM CODE: CI48000, SKU: CI48000
07.14.2020
Easy Install
| If you are going to install Goldstrike lights to your bike, this is a must have. Very easy to install. They are marked left and right, just unplug the connectors on the wiring harness under the seat and plug these adapters in. |
3-Way Adjustable Highway Peg Mounts Chrome
ITEM CODE: PG38037
07.02.2020
Nice looking, well made
| Fairly easy install. Watching the video is good for showing how to take the plastic off of the bike around the motor. As for some of the small details in the assembly no details are shared you have to figure it out on your own. It isn't hard to do, just take your time. The screw heads are either 5 or 6 mm. depending on which one you are working on. You need to install a very small clip onto each clevis. The screws are very small, they take a 1.5mm hex key. Look really good on the bike. I bought the foot pads that match my Goldstrike floorboards and brake pedal. |
Twin Rail Floorboards w/ Optional Black Driver Adapters
ITEM CODE: PG38270
05.09.2020
Good looking, well made.
| These are fairly easy to install. Removing OEM pegs is simple, just pull out cotter pin and push out the large pin that holds it all together. You can reuse the original cotter pin but I installed new ones. The only pain installing the new boards is getting the spring back into the hole in the frame. I used a hook ended tool to pry up the end of the spring while you get it lined up and push the whole unit in. I set the large pin in the top of the hole before doing this so when it lined up you could just push it in and not have to fish around for it. My only complaint is that the driver adapter on the right side was too narrow to put the spring into. I don't know if it was slightly bent or there was too much powder coating on it but I had to really force the spring into it. Left side was fine. This is the reason for the 4 stars. Otherwise I am very happy with these boards. They are very nice looking. |
Front Fork Leg Covers Chrome
ITEM CODE: CI78120, SKU: CI78120
05.09.2020
Very nice looking
| Fairly easy to install. The first step is Remove screw from brake hose joint (screw will not be re-used) This screw is not a Hex Head, it is a T30 Torx (or Star) bolt. The pinch bolts are 10 mm. Its been a few days since I installed these, I believe all the hex heads are 3mm. Look very nice on bike. I chose to remove the center plate to expose the reflector. They look good either way. |
ITEM: HO08L78-MKC-A00
05.07.2020
OK organizer
| The organizer is nice enough and will keep a lot of small items from scattering around your trunk. Like many other things Honda does some things oddly. Honda designed the trunk with 5 mounting holes built in to be able to add something like this organizer. Then they design the organizer to not fit these mounting holes. The organizer comes with 5 pushpins, 5 mounting screws and 5 plastic tabs with holes punched at each end. You have to attach each tab to the organizer with the push pins and then use the screws to attach the plastic tabs to the mounting holes. Why didn't they just make the organizer to fit the mounting holes in the first place. It doesn't make any sense to me |
Saddlebag Guard Covers
ITEM CODE: CI78320, SKU: CI78320
05.04.2020
Easy Install
| These are a very easy install. Peel the covering off of the tape and just press into place. Hold for a minute and your good to go. These make the guards look a hundred percent better than the flat black plastic. |
Engine Guard Covers
ITEM CODE: CI78310, SKU: CI78310
05.04.2020
Easy install
| These are a very easy install. Peel the covering off of the tape and just press into place. Hold for a minute and your good to go. These make the guards look a hundred percent better than the flat black plastic. |
2019 Goldwing


- No Notes Yet -
VIEW


- No Notes Yet -


Harold
01.06.2021
New 2021 Gold Wings Officially Announced