![]()
Clint
San Antonio, TX, US, 78247
Reviews
Comments
Wish List
Alias:
Clint
About:
- Nothing entered yet -
Occupation:
- Nothing entered yet -
Favorite Quote:
How many different ways can you say, "STUPID!"
Member Since:
09.18.2013
Bike 1:
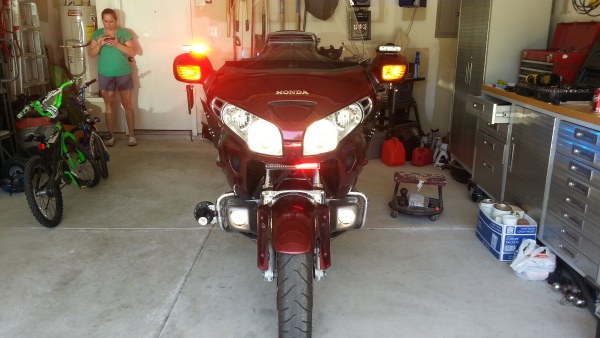
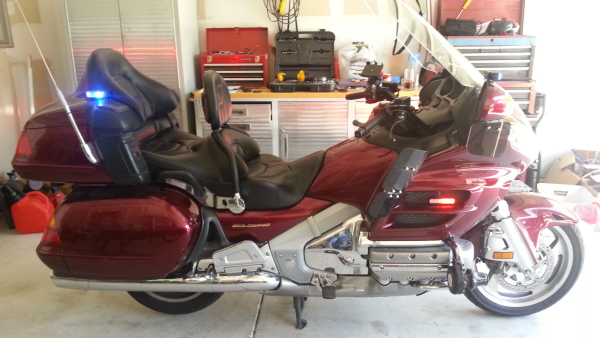
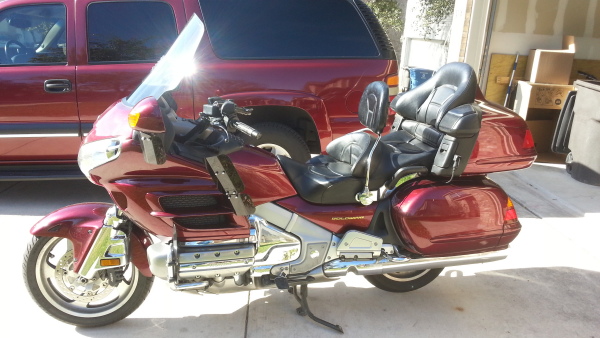
Black Cherry 2004 Honda GL1800
Bike 2:
Heavy Grey 2016 Honda GL1800A
Bike 3:
- No Bike 3 -
Clint has not yet written any comments.
ITEM: HO37453ZW5000ZA
12.09.2015
Honda Volt Meter
|
I read many of the reviews for this meter. Some had issues with the wiring not being long enough or the connector to plug it in was not found or available for various reasons. For some reason this issues seemed to arise on 2010 model GL1800's according to the reviews. I have a 2004 GL1800. I actually located the unused plug in the wiring harness behind the right panel on my bike then I ordered the part. The plug on my bike is a two-pin plug that is red in color. I received the part in the usual couple days it takes them to ship products (Pretty damn fast). The was an installation sheet in the package, but I usually don't refer to them on a part that, to me, is so simple to install and the instructions are lacking. I would have to say I have an educated technical background in mechanics. Installation suggestion: Disconnect the battery, positive cable first. Next remove the trim piece on the right side of the fairing, start from the bottom and work your way to the top. Next remove the fairing screw that holds the panel, 5mm hex wrench. Just below the mounting screw there is a slot. Use a thin flat-blade screw driver and gently pry the locking tab away from the fairing to unlock the panel on the outer edge. Then rotate the panel up and pull it out from the inner edge. Now, there is a cable from the lock cylinder which leads to the locking box directly above. To remove this cable, unsnap the cable housing from the metal bracket. Rotate the panel up to remove the cable end from the lock cylinder. Look into the opening where the panel was removed. Toward the frame and directly back a couple inches, you'll see a wiring harness with a rubber boot around the harness. Inside the rubber boot on the harness is where I found my two-pin plug. It should be red in color. This is the plug used for the voltmeter. If something is plugged into the red plug, then there is another accessory using the plug. The wiring harness on the volt meter has a dual end plug, one male plug and on female plug. Plug the appropriate connector in to the wiring harness on the bike. Connect the battery (This is to test the meter before you drill a hole in the panel). The meter will not work until the key is turned to the on or accessory position. Make sure you have a voltage reading and the back light on the meter is lit. If so, the meter is ready to be installed. Unplug the meter and disconnect the battery after this test. Next, find the center of the squared, recessed area of the panel. Using a ruler, drawn or scribe a line from the corner diagonally to the opposite corner. Then do the same to the other corners. You will make an "X." I would recommend placing the "X" on the back side of the panel. Use a hole saw (2 1/16"), center it on the "X" and make your hole. Since the panel is plastic, drill slowly and use light to moderate pressure to avoid melting the plastic or grabbing too big of a bite and possibly breaking the plastic panel. Clean the hole of any shavings as necessary. Now, get the volt meter and look at the back of the meter. You'll see a metallic "U" shaped bracket secured to the back center of the meter. Remove the nut holding the bracket and ground wire of the meter, then remove the bracket and ground wire. Get the panel and feed the wiring from the meter through the panel from the front side of the panel. Reinstall the bracket, the ground wire, and the nut onto the back of the meter. The "U" shaped bracket is what holds the meter on the panel. Slightly snug the nut and then position the meter to your liking and tighten the nut just enough to hold the meter firmly in place. Next, plug the meter into the red, two-pin plug. Reconnect the cable to the locking cylinder. Install the panel, the left side of the panel first to get the retaining tabs in place. Rotate the panel into the opening. You may have to manipulate the radiator overflow hose up to |
Chrome Key Plate Accent w/Rubber Pad for 2001-2005 GL1800
ITEM CODE: BB52758, SKU: BB52758
11.29.2015
Nice Bling
|
I installed this piece and broke one of the retaining tabs. However, the remaining tabs still hold it securely in place. I ride alot during all kinds of weather. I have not been bothered by any reflections or glares as some have noted. I guess it boils down to individual preference. Installation note: I would suggest to remove the meter panel then remove the old accent piece. Then I would install the new accent piece. The reason for this is to lessen the likelyhood of breaking a retaining tab while trying to install it around the key switch cylinder at the same time. Removing the meter panel takes the key switch out of the installation equation. Then when you reinstall the meter panel you can easily fit the accent piece around the key switch cylinder. |
ITEM: AO18269
11.05.2015
Doable
|
Another reviewer stated he lost one of the fillers. I, too, am having a problem keeping the filler on the right side securely in place. Thus far, I have been able to keep it from falling out. I believe the wiring harness along the right side of the tunnel keeps the filler from fitting properly. I am going to use some two-way tape to try to keep the filler in place. If that does not work, I may do some trimming on the right filler around the wire harness to allow it to fit better. On the plus side, the fillers do reduce the air flow through the tunnel, thus blocking most debris, and reduces noise. I would purchase the filler again, but I think some modifications may be necessary to keep them firmly in place. |
ITEM: AO8427580
10.28.2015
It does the job
| This is an anodized aluminum tool. Mine was stamped as made in Taiwan. I tried using this wrench on the Fram oil filter and it did not fit. The wrench was too small. I do not know if the wrench fits on the Honda filter. The Fram filter has a black coating, like undercoat, on the end of the filter and I'm sure that is why it does not fit. Instead of returning the wrench, I ground the inside of the wrench just enough to fit on the Fram filter and it works fine. I think it would help in the product description to state which line of oil filter(s) this tool was designed to fit. At this point, I can only assume it fits the filters that do not have a coating on the end of the filter. The wrench was priced well and was worth buying and grinding for my application. |
Factory OEM Brake Pads for GL1800
ITEM CODE: PG03702
11.06.2014
DITTO!!!
| Like many others that reviewed these brake pads, I, too, found them to be quite superior to other aftermarket brands. For the little extra expense, it is definitely worth it. I replaced the less expensive aftermarket pads that were installed on my wing with the factory pads. There is an obvious difference in stopping power. You cannot go wrong with these pads. |
ITEM: PG01048
12.05.2013
Good Buy
| I researched these and other brands. After reading several reviews on WingStuff and other sites and forums, I ultimately decided on the Baker Built deflectors. The video that you see advertising these deflectors pretty much hits the nail on the head. I was still a little skeptical because the video uses a fan to produce the wind instead of actually riding the bike down the road. The fan only produces wind in that one area and not over the entire bike. But, I bought them anyways. Actually I bought the Air Wings, Hand Wings, Leg Wings and Foot Wings. I installed all of them at the same time. Wow, there was a tremendous amount of wind reduction. I could ride at 80mph and feel no more wind or buffering than what I would feel at 30mph without the deflectors installed. It made a huge difference for cold weather riding. On the warmer days, turning the deflectors actually channels and amplifies the air toward you for a better cooling effect. As far as the install, I did all four sets in about an hour. The hand, leg and foot wings are very simple. The hardest part is determining which is left or right. The instruction sheets explain all. It is only one page for each set and if you read them, you will have no problem. The Air Wings were a little more complicated because of the drilling. They do supply a template for drilling the holes where they need to be. The instructions for the placement of the template were simple. A drill bit is supplied. It is a paddle bit primarily used for boring holes in wood. This bit does work fine with the trim piece, but you cannot put too much pressure on the bit or it will bite too much material. Basically, if you just let the weigh of the drill itself, plus just a slight amount of pressure, it will bore the holes clean. Another tip is to drill at a slow speed. I do a lot of riding and these deflectors made me feel I made a good purchase after the first ride with them installed. |
Gen 2 Chrome Fork Brace for GL1800
ITEM CODE: KU7339, SKU: KU7339
10.13.2013
Impressed
| Like you, I read most of the reviews about this product and similar braces. I decided on this brace based on the reviews I read. I have to say I am impressed. I did not have a "wobble" unless I let go completely of the handlebars. I did, however, notice there was flex in the forks on curves, lane changes, turnarounds, etc. I purchased this fork brace mainly because of its adjustability so I would not possibly end up with the forks binding. Reading the installation instructions prior to purchasing and seeing the brace, left me with questions and a lack of understand on how to install the brace. After receiving the brace and following the instructions, I was able to install the brace in about 15 minutes. Easy. The instructions are quite accurate and easy to follow once you have the product in your hand and installing the product. If you are all ready familiar with these braces, then you will understand the instructions better than I did. I notice an impressive amount of stabilization in the forks after installing. I felt like I had to relearn how to ride my wing because it was so solid and responsive. I noticed this more at lower speeds than highway speeds. On the highway, the brace made lane changes over the road crowns and tire ruts very positive. No more flexing. So far, I love this brace and would highly recommend it. |
Original Wish List


- No Notes Yet -
VIEW
- No Notes Yet -