![]()
TaylorsWing
Houston, TX, US,
Reviews
Comments
Wish Lists
Alias:
TaylorsWing
About:
- Nothing entered yet -
Occupation:
- Nothing entered yet -
Favorite Quote:
- Nothing entered yet -
Member Since:
05.21.2013
Bike 1:
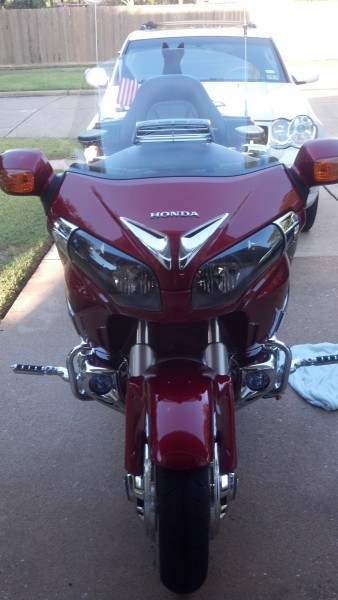
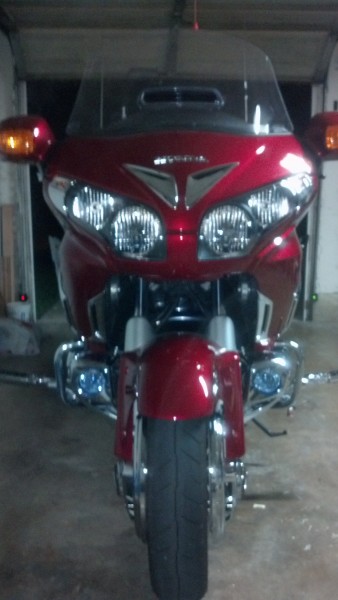
Red 2013 Honda Goldwing
Bike 2:
- No Bike 2 -
Bike 3:
- No Bike 3 -


TaylorsWing has not yet written any comments.
Bridgestone Tire COMBO for GL1800 G704/G709
ITEM CODE: WSBRCOMBO, SKU: WSBRCOMBO
06.18.2016
Great tires for the price
| I have the TPMS to help me keep the tire pressure around 41 on the rear and around 40 on the front. I got 14,000 miles on the factory set and 14,000 miles on the second set. When the price went to 329 for the Bridgestone set, I thought I would try the more expensive Elite 3 set for a few more dollars thinking I would either get a better ride or more mileage. I was wrong. As early as 3,000 miles I was seeing cupping on the left and right side of the front tire. At 12,000 miles on the Elite 3 set, I had to replace the front and rear due to significant cupping (when leaning, my wife and I would hear a whining noise). At that time (about 40,000 miles on my bike), I went back to the Bridgestone tires and currently have about 12,000 miles on this set. Today, with the fathers day special, I just bought another set of Bridgestone tires since I anticipate having to replace them within a couple thousand miles. (Consistently getting about 14,000 miles per set) I saw another review by someone regarding tar road repair strips being slippery and agree that if you are riding in the Houston heat like we do from time to time (with cooling vests), those tar strips are slippery but I do not think any tire will make a difference since the tar is starting to melt at those temperatures. (I try to avoid the tar strips on the road.) |
Chrome Wide Kickstand for Gold Wing
ITEM CODE: KU7104, SKU: KU7104
06.22.2014
Very nice looking and easy install
| A friend suggested I put a nickel between each of the spring coils to reduce the effort needed to get the spring back on the kickstand. Not sure if I needed it or not but only took about 20-30 minutes to put about 15 nickels in and change out the kickstand thanks to another reviewer mentioning rotating the kickstand slightly when putting the pin back into the pre drilled hole on the kickstand. I also took the back nut off first, then the small nut on the front, last was the front large nut that is also threaded. Looks great now and I hope it stays nice looking as written by some of the other reviewers. |
Plug & Play Trailer Wiring/Relay
ITEM CODE: KU7676, SKU: KU7676
05.20.2014
Easy install and good idea for isolating future shorts
| Since I already had the rear plug and play wiring harness from Kuryakyn installed, the install was made very simple. When fishing the wire from the back to the battery, I sprayed the sheath with WD40 to help it slide between the frame. Another tip that may help is that the relay box will be at the back of the bike near the plug and play area. Use the included velcro to secure it to the left side low enough to leave clearance for the rear center panel re-install. I like the fact that the circuit runs off the relay instead of sharing wiring with the other lights so if one light goes bad, all will not go bad. |
Trailer Hitch for GL1800 2nd Gen
ITEM CODE: KU7641, SKU: KU7641
05.20.2014
Quality hitch
| The install was straight forward for our 2013 wing as long as you follow the step by step instructions. One tip I would give is when you put the support bars that sit just above the exhaust pipes, the support bar mounts to the outside of the support bracket. It is very nice quality and comes with a chrome ball. I have not towed a trailer yet but got it for carrying a "hitch and go". We also bought the plug and play wiring harness and installed while installing the infinity light since the seat had to be removed. Make sure you get the rear plug and play harness if you plan to get the plug and play trailer wiring harness. |
Bridgestone Tire COMBO for GL1800 G704/G709
ITEM CODE: WSBRCOMBO, SKU: WSBRCOMBO
01.22.2014
Replacing factory tires
| These tires were factory tires on my 2013 wing and I have just over 14,500 miles on the original tires. I probably still have another couple thousand miles left on the front tire but the rear is due to be replaced. I never had the wobbles and the handling has been great even when i got caught in 40+ mile per hour rain storm. (scariest ride I ever had with nowhere to pull off the road.) The factory tires were balanced with the exterior weights and I kept the tire pressure right with the help of the TPMS warning system. This time I have also ordered the balancing beads to see how those work out. I have been very pleased with the factory tires and hope these will do the same. |
ITEM: WS187416
12.25.2013
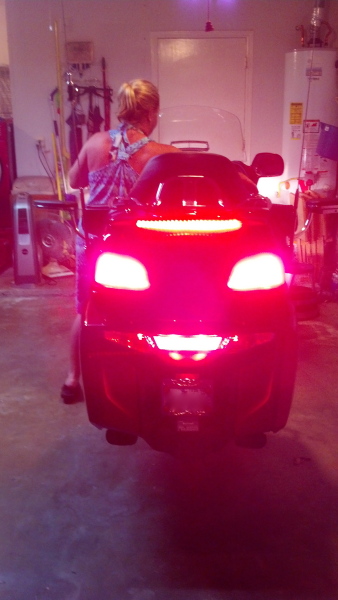
Best investment piece
| I figured I was a good enough rider to avoid road debris. I bought my wing 7 months ago and have not hit anything in the road (knocked on wood) but I looked at the underside of my bike about a month ago and noticed there was a significant dent in the coolant reservoir. I can only assume a pebble was bouncing down the road that I never saw. Luckily, there was not a hole. I just installed this belly pan with few problems. My wife bought this for me and at first I though she bought the wrong one since it was white. Turned out that was only the protector plastic (removed before I installed). I turned a 10 minute install into an hour since I did not realize the lower plastic piece had to be pulled off of the screws with a little extra elbow grease. I am happy with the peace of mind to protect the oil filter and the coolant reservoir. After I got the pan over the screws, I slid it as far back as possible and that allowed the front piece to tuck into the cowling instead of dangling below the cowling. The aircraft style connectors on the front piece made the install a breeze and will also make maintenance a breeze. If you plan to replace the brake pedal anytime soon, do the brake pedal first to save you from having to remove the whole pan again. In light of where the oil filter is, this is a must have that will save some wing engines. |
Chrome Footpeg Mounts for GL1800
ITEM CODE: KU4544, SKU: KU4544
12.25.2013
Nice finishing piece
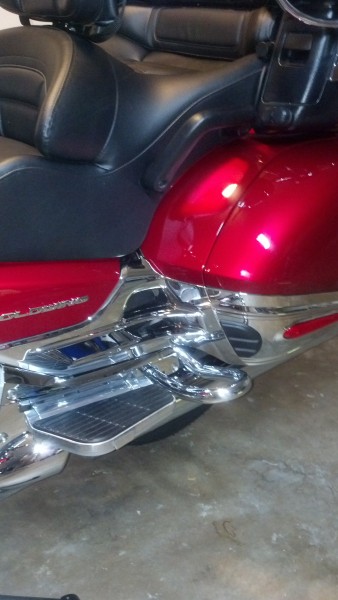
| As others have said, if you have added other side chrome, this makes the chrome lines flow smoothly. Very nice finishing piece. The install could not be any easier. |
Chrome Dually Driver Replacement Footpegs
ITEM CODE: KU7938, SKU: KU7938
12.25.2013
Matching the forward pegs
| These are nice quality pegs and now match the forward pegs I installed a few months ago. I added these at the same time I replaced the brake pedal since the brake pedal is much easier to removed when the foot peg is removed. I installed these with the chrome brackets to finish off the lower chrome that I have added. Looks much cleaner now. The install was easy as long as you start pushing the pin back through as you put the spring back in place. |
Mini Arms for Ergo II Highway Footpegs
ITEM CODE: KU4071, SKU: KU4071
09.26.2013
Great safety item for taller riders
| I am 5' 11" with about a 30 inseam and bought the ergo II pegs with the standard arms since I didi not know this could have been bought with the short arms. Over the past 4 months, I had scraped the pegs at least 4 times, one of which shook the bike. When I put these short arms on, it increased my ground clearance by at least 3 inches since I no longer had to have the arms positioned below the engine. Now the short arms are angled slightly upward from horizontal and gave me the added clearance. They look great and are relatively easy to install especially if you already have the Ergo II mounted. |
Chrome Metal Valve Covers for GL1800
ITEM CODE: KU3901, SKU: KU3901
09.20.2013
Great looking cosmetic piece
| These covers look great. Easy to install. I removed the cruise pegs just to make sure I would not scratch the chrome on the covers. The top pieces had very little tape but I guess that was to make them removable when service needs to be done. The lower left side did not quite fit like a glove like the right side did but it still looks great. (It seemed like there was a little gap on the lower front left side so I am not sure if the front piece of tape grabbed?) I am still giving 5 stars for the overall look and ease of installation. I will add a picture soon since I just installed them last night. |
Utopia Driver Backrest for GL1800 2001-2017
ITEM CODE: UT18MC12, SKU: UT18MC12
09.04.2013
Excellent long ride accessory
| This is another of the few accessories bought at and installed by our dealer since we flew to Arkansas with intent to drive back to Houston via Waco (almost 800 miles put on that first weekend). The adjustability for tilt and height makes this a great accessory. I was happy they installed the back rest since we have the heated seats (made me nervous that I would damage a wire within the seat). |
Louvered Chrome Scuff Side Covers for GL1800 2nd Gen
ITEM CODE: KU7368, SKU: KU7368
09.04.2013
Love the looks of these covers
| I loved the looks of these covers so much that I miss-matched the saddlebag accent trim intentionally since I did not like the half-trim. This is one of the few pieces that I bought and had installed at the dealer since I did not know about wingstuff yet since this is my first wing. |
Wish List
- No Items Yet -
- No Notes Yet -
VIEW
- No Items Yet -
- No Notes Yet -
Original Wish List

- No Notes Yet -
VIEW
- No Notes Yet -