Alias:
Donald
About:
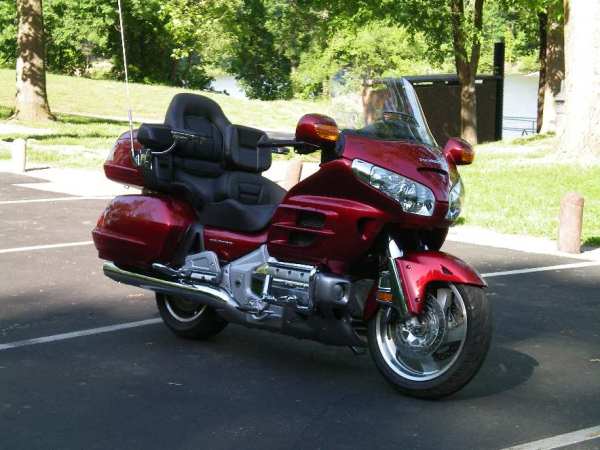
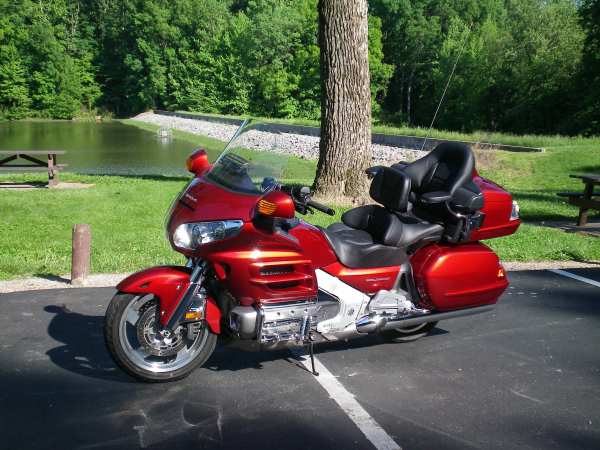
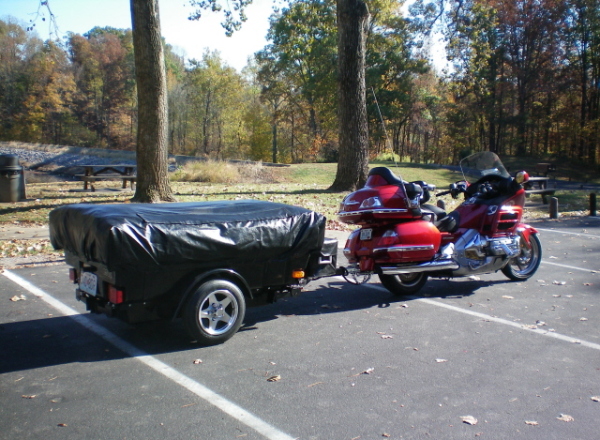
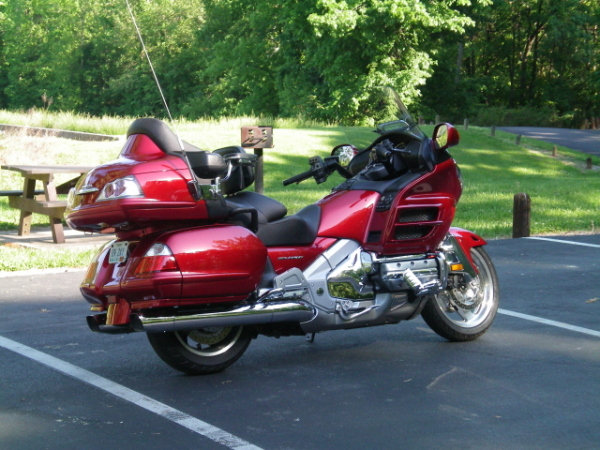
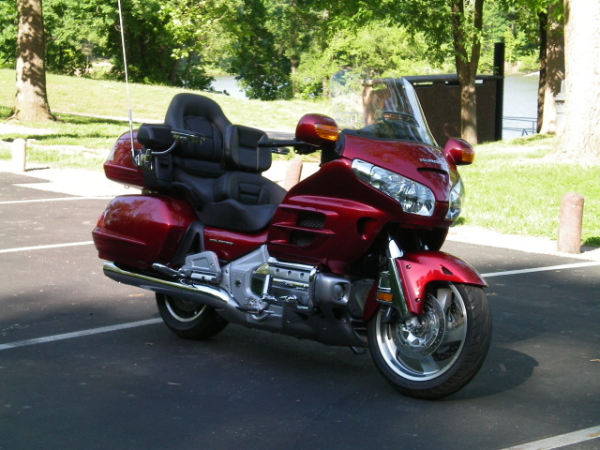
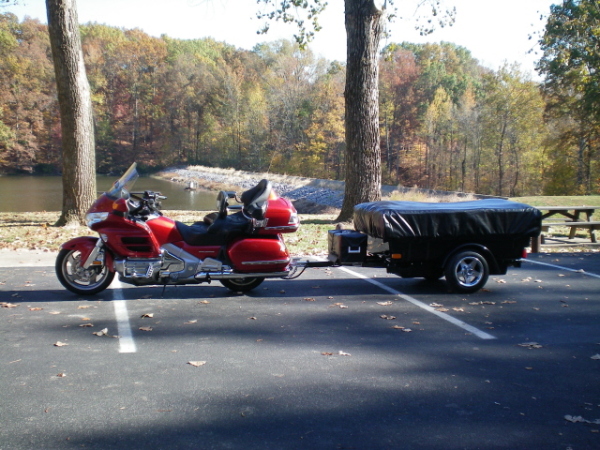
Have owned bikes nearly all my life. I've had 8 or 10 different street bikes one was a 1976 Triumph 750 Bonneville (that's the only one so far that I wish I hadn't gotten rid of). Joining the ranks of Gold Wing owners is something I have looked forward to for a long time. I took ownership on 3-15-10 of a new leftover '08.
Read More
Less
Occupation:
Retired
Favorite Quote:
Those who anger you control you!
Member Since:
03.17.2010
Bike 1:
Red Metallic 2008 Honda GL1800HPNAM
Bike 2:
Red 1985 Yamaha 700 Maxim
Bike 3:
Black 1981 Honda 750K
Donald has not yet written any comments.
LST Horizon HeliBars for GL1800 & F6B
ITEM CODE: HELST01084GL-KIT, SKU: HELST01084GL-KIT
05.09.2018
As good as it gets
|
I have an '08 Navi bike. I was on the fence for a couple of years because of the price tag. I wish I'd done it sooner! My reason was to hopefully change my wrist angle due to discomfort with the stock setup. My intentions were to bring the grips back, and then angle the ends of the bars forward. They really do adjust to about any position/angle you'd think of. But i wasn't able to get them back far enough to accomplish my goal. I found a sweet compromise by angling the grips down and slightly back. This provides the most comfort for me. I suggest that you keep at it if you can't seem to get them where you want. I changed mine a half dozen times before I found the sweet spot, so don't give up! As an added bonus, these bars have virtually eliminated the decel wobble that my bike has had since brand new. In a nutshell, I love 'em and I've never regretted buying them. They are very high quality. |
ITEM: HO08P54MCA100
03.18.2015
Factory good looks
| These really do look like they came from Honda. And metal has to be better than any of the plastic ones. Install on my '08 was straight-forward and fairly easy. The fit is good, with minimal tweaking to get all the holes to line up. With the ring of fire on them, they're the berries! |
Chrome Lower Front Cowl for GL1800
ITEM CODE: BB52608, SKU: BB52608
03.18.2015
Up front shine
|
This piece looks so much better than the factory gray one. It is a direct replacement, mine fits as good as my original one does. It appears that it will be more important than ever to keep it clean though. It's so shiny you'll really be able to see all the dirt! |
ITEM: PG00125
03.18.2015
Nice addition
| I installed these onto the Hondaline covers before I put them on. The fit is good. I recruited the help of another to help spread them as I positioned them around the cover. The glue IS very sticky. I put three evenly spaced c-clamps on them to help hold them while the tape set up. They look great and put out a goodly amount of light. |
ITEM: BB52734
03.01.2015
we'll see
| This unit is a must to convert the spoiler LEDs to brake/tail lights. Install was as easy as you would expect. Truly plug and play. As you can imagine, it took a lot longer to dig your way to where it plugs in than it did to hook it up. One of the connectors has a near-bare wire in it. It appears a bit loose in the connector. Time will tell if it stays in. The loose wire is the reason for 4-star rating. |
Factory OEM LED Lighted Trunk Spoiler for GL1800 1st Gen
ITEM CODE: PG00029
03.01.2015
NIce
| I bought this mostly for the extra high-mount brake light it incorporates. Mine is '08 Caliente Red, the color is spot on. Install was a tad nerve racking what with drilling the trunk and all. I used the tick marks on the inside of the trunk for hole locations. The template didn't line up correctly. Take our time and ease up on the final size hole while checking alignment as you go. A step drill bit works very well after your pilot hole is made. I also used the adapter plug kit to wire the lights as brake and tail lights. |
ITEM: PG20158
07.16.2012
Agreed
| The switchblock really looks factory. It seems a tad pricey, but is built very solidly(all metal). I used it to control my LED's. Wiring was simple enough to understand. I got just a weep of brake fluid between the base and the factory reservoir when I first bolted it on. Make sure you cover the area below it to avoid an accident. Mine quit seeping shortly after final tightening of the lid. Looked OK the next morning and still does. Unit functions flawlessly. Will update on the fluid thing after putting some miles on her if needed. For now, a 5-star product. |
ITEM: WSPS1
12.23.2011
5 Stars
| I'm so glad I sprung for this software along with the bikemp3 player. General computer program knowledge is all I believe you'd need. The available online videos did help me. I thought they kind of guide you through it well. You do, however, need to know where on your computer your music is stored. Unless I missed something, the software can't "find it" for you. You tell it where to look, and the rest is seemless. I used the program to clean my sd card, loaded it up, and all works flawlessly. Great product that I believe is easy to use. I'd do it all over again. |
ITEM: BB52626
08.11.2011
5 Stars
| Very nice looking when the boards are up. Good price. Easy as pie install. I bundled these with some other side bling. If I had it to do over, I might pass on these. I do a fair bit of two-up riding, so the boards hide the look. Taking nothing away from the rating though, these are nice. |
Chrome Passenger Floorboard Side Covers
ITEM CODE: KU7506, SKU: KU7506
08.11.2011
4 Stars
| These do a good job of hiding the gray below the battery side covers. I had to wallow the left side holes because the were stamped too far apart. Once installed, you can't tell anything is wrong. Four stars for less than perfect fit. |
Battery Side Trim
ITEM CODE: BB52630, SKU: BB52630
08.11.2011
5 Stars
| I debated a long time on whether or not to chrome the side of the Wing. Out of the four pieces I chose, these are by far the best looking of the bunch. This spot just looks like it should be chromed. If you only have the money for one piece of bling, this is the one to get. Very easy install. |
ITEM: PG02361
08.11.2011
5 Stars
| I like the closer feel you get from these. I'm 5'10",and bought the wide version. I ended up installing right riser on the left, left riser on the right. It felt like the bars were angled in when I put them where they really go. Flopping side-to-side took most of that out. A word of caution; if you think you might do this, don't trim the factory plastic mounting bolt cover until you decide which way you want to leave the bars. It doesn't line up when you cut the plastic one way, and mount the risers the other way. Install took about an hour. |
Original Wish List


- No Notes Yet -
VIEW


- No Notes Yet -
