![]()
powding
The Colony, TX, US, 75056-208
Reviews
Comments
Wish Lists
Alias:
powding
About:
- Nothing entered yet -
Occupation:
Computer Technician
Favorite Quote:
Aim Small, Miss Small.
Member Since:
08.29.2006
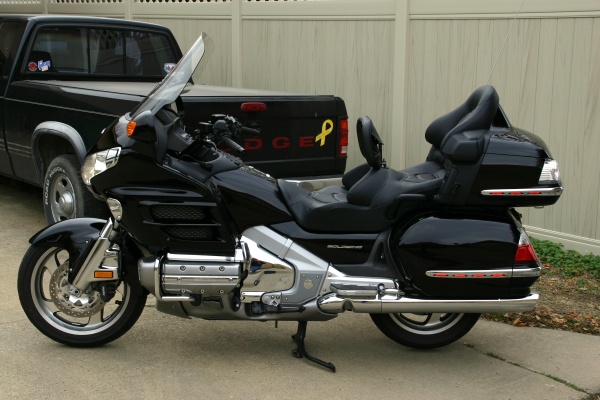
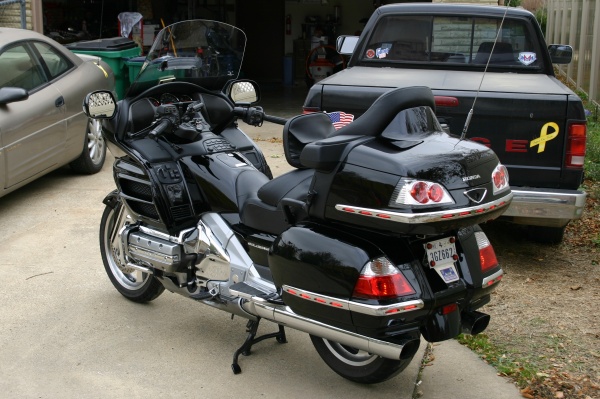
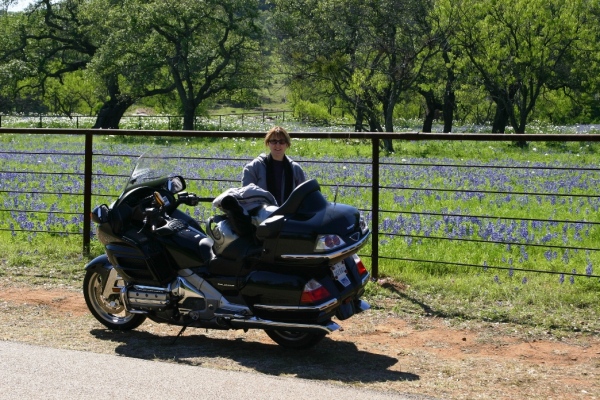
Bike 1:
Black 2006 Honda GL1800 Audio/Comfort
Bike 2:
- No Bike 2 -
Bike 3:
- No Bike 3 -

powding has not yet written any comments.
Centramatic Stainless Wheel Balancers for GL1800
ITEM CODE: CTMGW100-102, SKU: CTMGW100-102
11.18.2015
Absolutely great so far.
| Installed these while there was about 10,000 miles on the front and about 7,000 miles on the rear of Dunlop E3's. The tires still have plenty of mileage on them but of course the "normal" cupping and a bit of vibration you experience with older tires. The bike now feels like it has new, freshly balanced tires on it. The only indicator that their not is the road noise in the curves from the cupped tires. I am looking forward to tracking the mileage on the next set of new tires I have installed. I'll revisit and update this review then. |
Premium AGM Sealed Westco High Amp Battery for GL1800 GL1800 Premium AGM Battery
ITEM CODE: WEWCP20L, SKU: WEWCP20L
01.31.2012
Fantastic replacement
|
My first experience with WestCo batteries was back in 2001 when I purchased one directly from them for my 1995 BMW R100RT. I had ridden BMW Airhead bikes since 1985 and I've never heard one spin over as fast as when I put in the WestCo unit. This battery contued to perform at that level until I sold the bike in 2006 when I purchased my Wing. Now with over 5 years on the original Wing battery I purchased the WestCo again (this time from Wingstuff) and I couldn't be happier. I'm not sure what the reference is to cables not lining up. I used the included spacers and had no problem installing this on my 2006 Audio/Comfort model. I put this in in October and of course it's still performing as expected. From what I know of them I expect to get way more than 5 years from this unit. |
Rubber Baby Buggy Bumpers for GL1800
ITEM CODE: PRRBBB, SKU: PRRBBB
06.22.2010
5 Stars
|
I put these on my '06 back in December of '09 after reviewing and following the instructions VERY carefully. They are just now breaking in to the point that I don't have to tap the trunk to get it to unlatch easily. I have not had any issues with them breaking off or causing any other problems. Love having the trunk lid back up where it belongs and not having to wipe off all that worn away plastic dust or listen to it rattle and squeek. Best buy for under $10.00 ever for my Wing. |
Progressive Heavy Duty Fork Springs for GL1800
ITEM CODE: TR771521, SKU: TR771521
06.22.2010
5 Stars
| Just put these in my '06 Wing at about 38,000 miles while I was having the seals and bushing replaced. So far so good. Nice having the front end back up where it started and the quick steering response back. Yes, at first the ride is a bit firm but that breaks in shortly. I have used Progreesive spring on my BMW's of the past ('75 R90/6 and a '95 R100RT) and have loved them on those as well. I personally put over 65,000 on the ones I put in the '75 R90 and they were still holding up like new. FYI: I am a 6'2" 225lb rider and I do not ride aggressivly. Most of my riding is solo and this is the only front end work I've done to date (besides tires). |
Front Fairing Trim for GL1800
ITEM CODE: KU7322, SKU: KU7322
06.23.2009
3 Stars
| Good looking little accent and I like it but... Like others, I wish Kuryakyn would get the curve right. In the Texas heat the ends will pop up on you requiring a re-install. About once a year. I'm looking into a stronger adhesive. I have the same problem with the left saddlebag chrome strip/LED's from Kuryakyn. I really like the products but how hard is it make them right. Especially for the money they get. |
Saddlebag Cooler w/ Logo
ITEM CODE: HO08L56MCA100E, SKU: HO08L56MCA100E
03.27.2008
5 Stars
| Looks nice. Is well built. Fits right. You gotta have one of these for the weekend picnic rides or just for taking lunch to work. I can fit lunch with drinks + extra water for the ride for the wife and I in here. |
ITEM: HO08F85MCA100A
03.27.2008
4 Stars
| Very nice, understated look, chrome piece out front. A bit expensive for plastic but I like it anyway. Take your time mounting it. |
POW Flag in 6x9 or 10x15 fits Std or Parade Flag Pole
ITEM CODE: PG03837
03.27.2008
5 Stars
| Just got the 10" x 15". Better quality than I expected. Very nice. |
USA Pole Flags
ITEM CODE: PG00890
03.27.2008
5 Stars
| Just got the 10" x 15". Better quality than I expected. Very nice. |
Wig Wag Brake Modulator
ITEM CODE: PU20500031, SKU: PU20500031
05.28.2007
5 Stars
|
Since I have received more than a couple of e-mails about this I thought I’d submit this post. Disclaimers: I don't know if this is good on any other than 2006 model Goldwings. This is for hooking up the modulator to the trunk lights only, leaving the saddlebag lights to function normally. This is for do-it-yourselfer’s who aren’t afraid of working on motorcycles or wiring. There may be a better way to install this that I have overlooked. I take no responsibility for the accuracy of my memory. After removing the rear tire cover (what the license plate mounts to) you should see a good size bundle of wiring with a cover and some plugs. If you look closely you'll see that a smaller group leaves on the left & right side going toward the front of the bike and then upward. Note: I had already traced these groups of wires back down from the trunk lighting by removing the bottom of the trunk but once you know where it is it's not necessary to do this. I carefully cut back the tape on these two bundles to expose the wires inside them. Even in good light it may be difficult to identify the green wire with the red stripe. (hint: there will be only one wire of this color combo in each bundle). I clipped this wire on both sides, verifying one at a time by hitting the brake that I had the correct wire. Now it's just a matter of following the instructions that came with the modulator to tie into these wires. I soldered my wiring using shrink wrap to insulate my connections but you can use whatever method you’re familiar with to make the connections. Just make sure you wrap the bundles back up with good quality electrical tape since this area gets some road spray off the rear tire. This would be especially true for northerners with salt on the roads in fall, winter, & spring. There is plenty of room to mount the modulator back in this area. Just make sure that it and the wiring are out of the way of re-installing the rear tire cover. Enjoy the added safety. |
Ergo II Highway Pegs for GL1800 Gold Wing
ITEM CODE: KU4056, SKU: KU4056
05.23.2007
5 Stars
| Great looks, well built, & very adjustable. I looked at and tried out a lot of highway pegs and running boards before deciding on these for my '06 Wing. |
Wig Wag Brake Modulator
ITEM CODE: PU20500031, SKU: PU20500031
05.23.2007
5 Stars
| OK, I'm with some of the others as far as the wiring is concerned. I always like the easy way. That being said I am not afraid of wiring. This was easy to install on my 2006 Wing once I looked at everything. I only needed to remove the rear tire cover (where the license plate mounts) and accessed the wiring from there. Helps if you have the service manual. Look for the green wire with a very thin red stripe on both sides. You will have to add some wire. I located the unit on the left side and extended the right side wires to reach. LOVE the effect in mode 1. Definetly a good buy on this item if you can work on bikes. |
Wish List

- No Notes Yet -
VIEW
- No Notes Yet -
Original Wish List


- No Notes Yet -
VIEW
- No Notes Yet -