Alias:
BLC
About:
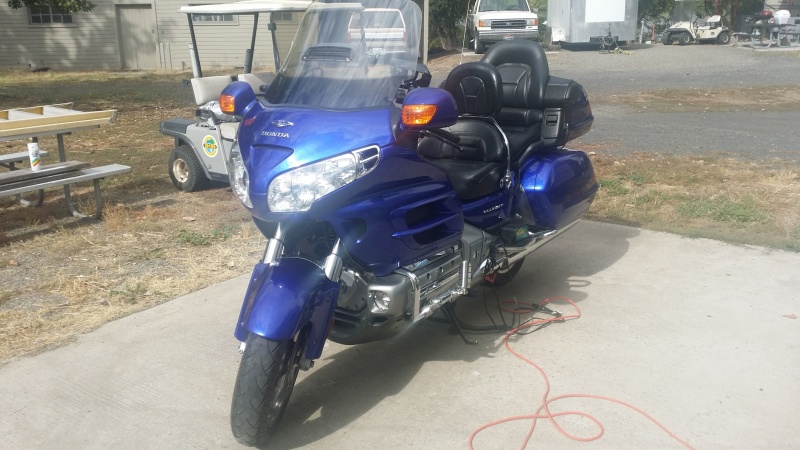
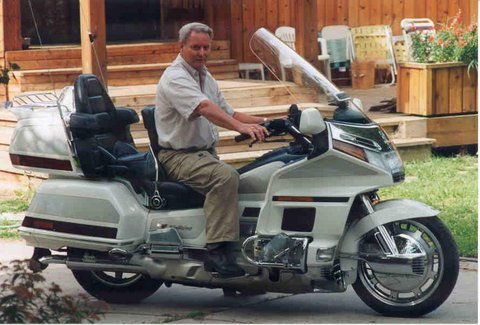
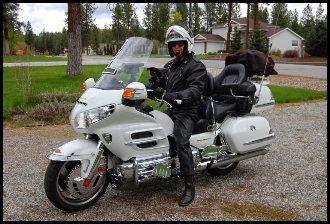
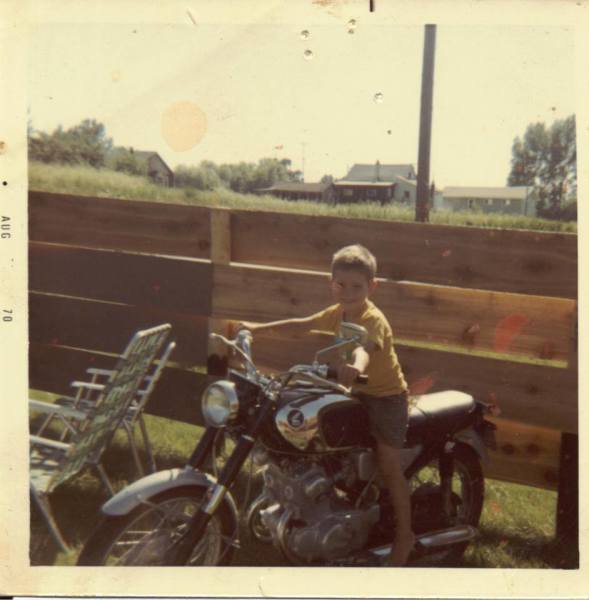
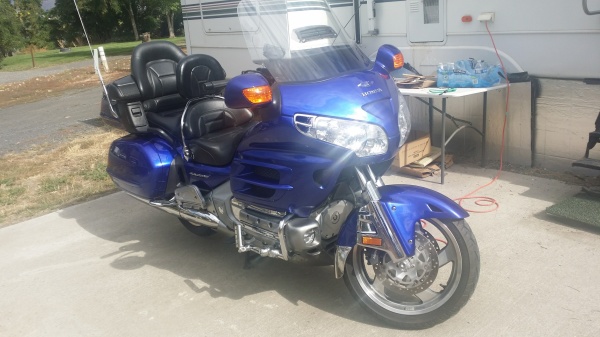
My first Honda was a 150 CC. Didn't have much power, but it got me around. Tried a 350 Kawasaki enduro. but found I didn't like the enduro style. Bought a 1974 750 Honda, then later a 1987 1200 Aspencade, a 1996 1500SE, a 2004 1800ABS, and now have the 2005 Blue 1800 Anniversary Special.
I like to travel around paved back roads and on long distance travel will look for back roads to simply stay off the freeways.
I am a loner cyclist. Reason is I don't like riding in a string of bikes with cars wanting to pass and it holds them up. It is just not for me.
I am over 70 years old and have ridden over 500K miles. Other than a bike falling over on me standing still that's about it.
Riding makes you much more aware of your surroundings which increases your awareness driving a caged vehicle. So ride and ride safe.
Read More
Less
Occupation:
Retired
Favorite Quote:
- Nothing entered yet -
Member Since:
10.26.2006
Bike 1:
Blue 2005 Honda Goldwing
Bike 2:
- No Bike 2 -
Bike 3:
- No Bike 3 -
BLC has not yet written any comments.
ITEM: WSHD500BK
11.20.2017
Recently Bought and Like it.
| I bought this because of the 100% water proof. Yes, it is HD and weighs a little more than the average covers, but I say it is worth the sacrifice so you don't have to put a tarp over your bike (which you'd have to carry extra anyway). I have not tried it on yet, because it is winter at this time and the bike is parked in a cargo trailer for the winter. Towards spring I will give it a fit. One thing I have done on covers is used 1.5 inch strapping with plastic clip in connectors to tie across the bottom. That way the weight of the plastic clip, and strap, allows you to toss across from one side (underneath) to the other so you can get a hold of the clip to plug it into the other clip part. If you want a good cover, I suggest this one. |
Clear Lens Universal 3rd Brake Light w/Run Option
ITEM CODE: EC01106, SKU: EC01106
11.20.2017
Bright Lights
| I installed this just below my license plate that has the Eagle Chrome License Plate Frame on it. There are three wires to be hooked up, one for ground, one for running light, and one for the stop light. They definitely are bright. I had difficulty trying to find the wire that had the stop light as my arms weren't long enough to sit at the back checking wiring and reaching the brake on the handle bar (Dah). You will need to drill a small hole in behind the plate to run the wires up inside the wheel well area to the wiring harnesses. My belief is the more lights on the back of the cycle the safer you are. This is worth the investment. |
ITEM: PG37050
11.20.2017
Takes a little work
| I bought a used 2005 GL1800 and the left side cover had a broken stud (gone) so I bought these and used a Dremel drill forming the stud close to the way the other one was on the right side. I then cut it off for length and used their JB epoxy to glue it in place. I think they are a little over priced, for only getting two, but hey -- they did the trick. You could probably buy an ABS plastic sheet and glue strips together and make your own, but these are convenient to work with. |
Rubber Baby Buggy Bumpers for GL1800
ITEM CODE: PRRBBB, SKU: PRRBBB
11.20.2017
Installed on two of My Wings
| I had these on my 2004 ABS and recently bought these for my 2005 GL1800. Now. the template shows the exact edge spot where you line it up on the trunk. And when you mark the spots you will see the spots are very close to the outside edge of the trunk (you will think 'to close'). Reason is there is a double layer of plastic for connecting the trunk together towards the inside edge. I drilled the holes and then spitted on them (as instructed) and used a small screw driver to push the edge on the outside part of the bumper into the hole. After getting it to start into the hole on the edge I then pulled them down with needle nose pliers (back and forth) and continued to work the small screw driver around the upper outside edge. They then popped in. Yes, the trunk will be tight closing, but my experience with them on my older 2004 bike is after a while they do form in and the trunk becomes easier to close. The instructions will tell you all of this. I definitely think they are well worth it. |
ITEM: WSPS1
11.20.2017
Convenient
| I had bought the recent J&M digital player and decided to order this software. I noticed a few glitches with it, but basically it makes it easier to load a flash drive with the songs you want. The nice thing is you can save your list should you want to rebuilt your flash drive, or make a duplicate. Example, you wan reload your list that may have been in original CD order and scramble the list and install it again. So it has it's benefits. |
ITEM: WP719129
11.20.2017
Can't beat the Price.
| I bought two of these for my 2005 GL1800. One is installed inside the trunk up on the lid and is able to be plugged into the Universal Trunk Plug I installed (EC02208) into the lid cover. I used Velcro to attach it up onto the underneath side of the trunk. This allows me to plug in USB items (2) and regular items using cigarette lighter plugs. I always wanted plugs for my previous cycles in their trunks and this does the trick now. I bought two so i could have one in my front left glove compartment, but the way I have done the wiring I doubt I will need the second one. |
F4 Scratch Resistant Clear or Tinted Windshields for GL1800
ITEM CODE: PG20048
11.20.2017
Like the Clear 2" Extended F4
| Back on 7/13/2011 I wrote a review about how great the F4 folks were in replacing the 4" I had put on my 2004 wing. If you wonder about the 4" possibly cracking, I would say they have corrected that situation by making the base thicker. But, one thing to consider is the 4" creates more buffing with wind, so that is why I put the 2" (adjustable, as the 4" is not) on. This new one is now on my 2005 Goldwing and I actually took a brand new factory windshield off (former owner had put on) just so I could have the F4 on it. It is easy to clean and I do not have to worry about the F4 getting foggy like the factory one does. I also bought clear because I always wear lightly darkened glasses when traveling so didn't want night vision to be darker. If you want a great windshield, get the F4. |
ITEM: AO451242
11.20.2017
Very Nice Chrome Vent Accent, but...
| I did something different with this trim. Have you ever had a bug come through the vent and hit you in the face at about 70 MPH? Yes, it stings like heke. On my previous cycles I made a trim from a piece of flat plastic and put window/door screen on the back side then Velcro to attach it to the vent. With this chrome trim I carefully removed their double stick tape. Then put down contact cement where the tape had been and then laid some window/door screen over and pressed into the channel (using clear wrap (for food so it would not stick to my fingers). I let it dry. I cut strips of Velcro and attached the rough side of the Velcro to the channel of the trim accent (back side where I glued in the screen). Once that was done I removed the cover wrap of the soft side of the Velcro and pressed it the trim onto the windshield vent. I now have a nice looking chrome trim, with a screen in it (to stop bugs) and it is removable if I need to clean the screen. Word of caution -- If you do this be very careful removing the double stick tape as the thin part of the chrome accent could easily break, so be patient. It really looks nice. |
ITEM: AO18741180
11.20.2017
Great Rear Flap
| I am a great believer in having lights on the back of the cycle. Had a similar one like this on a 1996 1800 SE. This one I installed on a 2005 1800. The light is a running light only (no stop). There are two simple wires, one ground and one live. The plate came attached to the rubber part and I put a tie clip on one of the bolts that connect the metal to the rubber and ran the lines through it. The metal bolt slots are elongated so they allow you to fit (by sliding back and forth) to the cycle cover bolts, so no drilling. Not much to it except finding a live wire on the cycle and a good ground. |
Universal Chrome LED Battery Guage
ITEM CODE: KU4219, SKU: KU4219
11.18.2017
You need one of these
| I had this on my 2004 1800 and have now installed this one on my 2005 1800. On the 2004 I installed it down below on the left side of the handle bars. Only thing is I seldom ever glanced down there. I have this one installed on the lower right (below keyed pocket) in the blank space. I set it high up in that space as I will be putting a cigarette lighter in that space also. It adds a little flair to the black area and is easily seen at a glance. Just hook it to a live wire and to a ground and you are set to go. Has a double stick tape for attaching. |
Chrome LED Master Cylinder Switch
ITEM CODE: KU7803, SKU: KU7803
11.18.2017
Excellent switches
| I had this on a 2004 1800 and liked it. I now have a 2005 and installed one. The instructions are very explicit to check for leaks. Only problem was getting the bottom part to disconnect from the top when I went to install. It was stuck pretty tight. I use if for two things presently. My radar detector and I have an electronic pulsating deer alert that emits a very high decibel sound. Older people usually can't hear it, but for younger folks it is very irritating and for some it hurts their ears. Thus I set the closest switch (right one) to switch it off and on as needed. Easy install. |
Lower Fairing Vents for GL1800 1st Gen
ITEM CODE: BB52642, SKU: BB52642
11.03.2017
Installed easily
| Had a bad original vent on the left side so ordered these. Used a business card to protect the paint finish while prying old ones out with small screw driver. Suggest you double check the movement of the vent before installing so there are no catches. (I did not have a problem as both worked smoothly.) Make sure if you take yours out you know which is the longer side (depth) as there is no marking on these that I could see saying left or right. They snapped in snugly and operate smoothly. |
Wish List
- No Items Yet -
- No Notes Yet -
VIEW
- No Items Yet -
- No Notes Yet -
Original Wish List


- No Notes Yet -
VIEW


- No Notes Yet -
