Alias:
- No alias yet -
About:
- Nothing entered yet -
Occupation:
- Nothing entered yet -
Favorite Quote:
- Nothing entered yet -
Member Since:
11.02.2023
Bike 1:
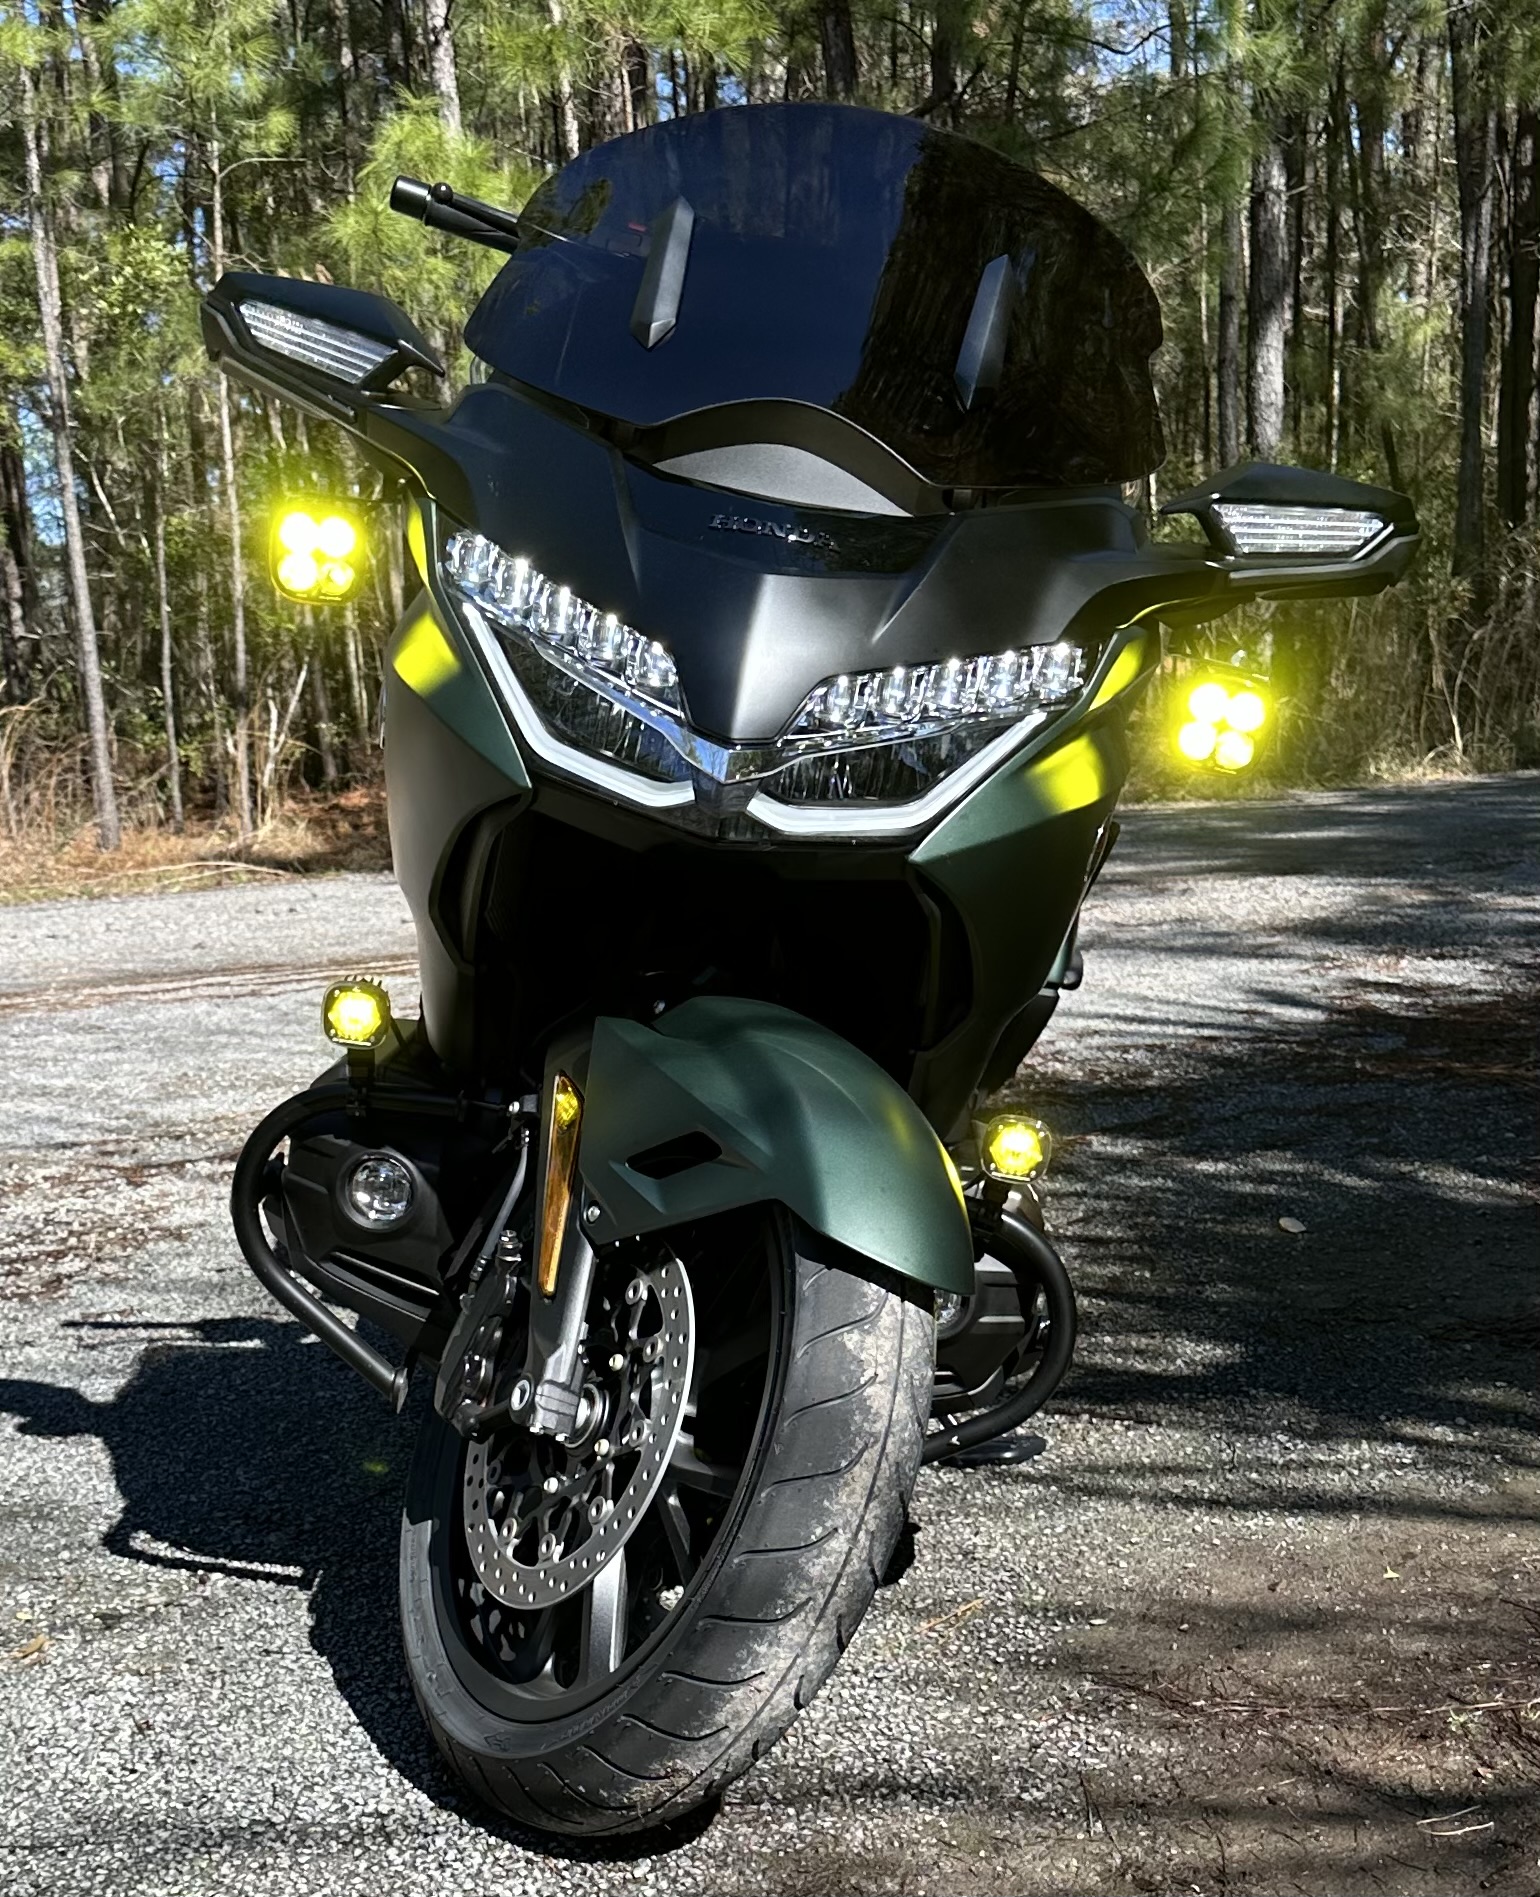
Matte Green 2024 Honda GL1800B
Bike 2:
- No Bike 2 -
Bike 3:
- No Bike 3 -
This member has not yet added any pictures.
This member has not yet written any comments.
Luggage Rack Black for 2018 + Non-Tour
ITEM CODE: BB52-945BK, SKU: BB52-945BK
03.09.2024
Fit for its purpose
| Great quality rack, well crafted and finished. Two things to understand if you're thinking of buying. First, you shouldn't plan on putting substantial weight on this rack, perhaps no more than 5 pounds. I'm sure the rack itself could take it, but the thing metal that lies underneath could not. I knew this going in but was not dissuaded; instead, it accomplishes what I want it to, which is to serve as an anchor point for mounting a Nelson Rigg bag to my passenger seat (I tether two of the bags straps to the rack and two underneath the seat). Second (and this is the biggie), with respect to the included instructions, FOLLOW them TO THE TEE when drilling the plastic. When you remove the two plastic covers on the bike, underneath each one, you'll see two perfectly symmetrical circles and think you should bore out those two holes (common sense, right???). Don't think you know better than the instructions as I thought I did! Before I started, I actually printed the illustration to scale, and when I laid the printout on top of the underside of each plastic piece, I thought, "nah, these instructions can't be right; I'm going to drill out each hole and stay within the circumference." Believe me, that's what every fiber of your being will tell you because it seems so commonsensical, but resist the urge. After I made 4 pilot holes, once I began using the 3/4 step-drill bit, ONLY THEN did I realize the error of my ways. So, I stopped, and was able to prevent royally screwing things up. The reason you need to follow the directions to the letter is because you're supposed to start drilling somewhat outside two of the holes because, once finished, those two holes will line up beautifully. When I realized I was going to run out of surface area and be screwed, I stopped drilling and manually filed the rest of the way. I know this is longwinded, and I apologize; yet if you're serious about buying this awesome little rack, I want to save you from making the same [nearly] fatal mistake I made. |
Wish List
PRIVATE

- No Notes Yet -

- No Notes Yet -
GW
- No Items Yet -
- No Notes Yet -
VIEW
- No Items Yet -
- No Notes Yet -
